Custom Stickers Factory for Your Brand – Guides, Materials & Customization Hacks

Custom Stickers Factory for Your Brand – Guides, Materials & Customization Hacks
 Xinyin
 Oct 07,2026

Why Do Custom 3D Stickers Need Molds? If you've ever requested a quote for custom 3D stickers and been surprised by a line item labeled "mold fee" or "tooling fee," you're not alone. For first-time buyers, paying the mold fee before producing a sticker may feel like an unnecessary upfront expense. But the fact is simple: without precision molds, custom 3D stickers simply cannot be produced, and mass-produced custom stickers cannot achieve consistency.
Custom 3D stickers look simple on the surface, but producing them in consistent bulk quantities involves much more than printing a design and cutting it into shape. Custom 3D stickers are different. 3D puffy stickers must first be formed into a specific three-dimensional structure. At the same time, the finished sticker still needs to be cut along its designed contour. They need molds to form raised contours, consistent depth, tactile texture and precise relief details that simple printing cannot achieve.
This means that 3D sticker manufacturing can involve two different types of tooling: a 3D forming mold and a cutting die. Understanding the difference is important for brands, importers, stationery companies, and other buyers planning custom 3D stickers, OEM sticker production, or bulk sticker manufacturing.
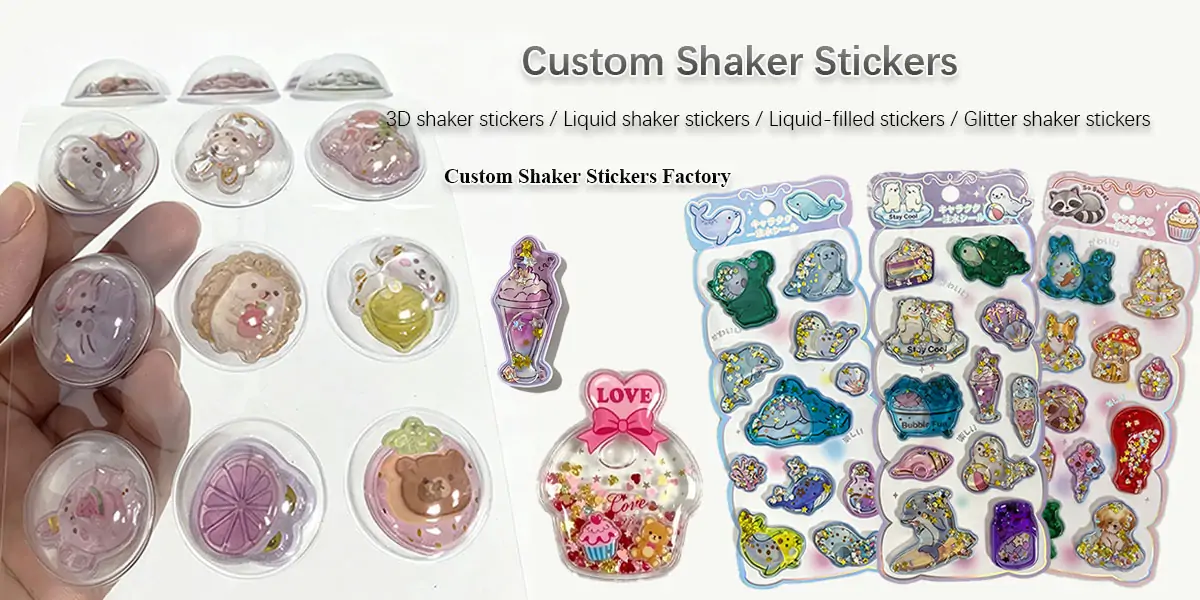
At MaStickers (Xinyin), we manufacture custom 3D stickers, including 3D foam puffy stickers, 3D flocked stickers and shaker stickers. Thermoformed 3D puffy stickers and embossed 3D relief stickers require precision molds.
Custom molds can precisely capture the three-dimensional geometry of your design, defining its height, curvature, and surface texture. The material is then placed into the mold cavity and shaped using vacuum forming or embossing processes to create a raised, three-dimensional effect on the sticker. Without this precision mold, every sticker will have uneven height, blurry edges and inconsistent shapes across production batches.
Understanding why molds are essential and how they shape both quality and cost that is one of the most important steps in sourcing 3D puffy stickers, epoxy dome stickers, or any custom dimensional label. In this guide, we break down the role of molds, the different types used in 3D sticker production, and why the mold fee is an investment in quality, not a hidden markup.
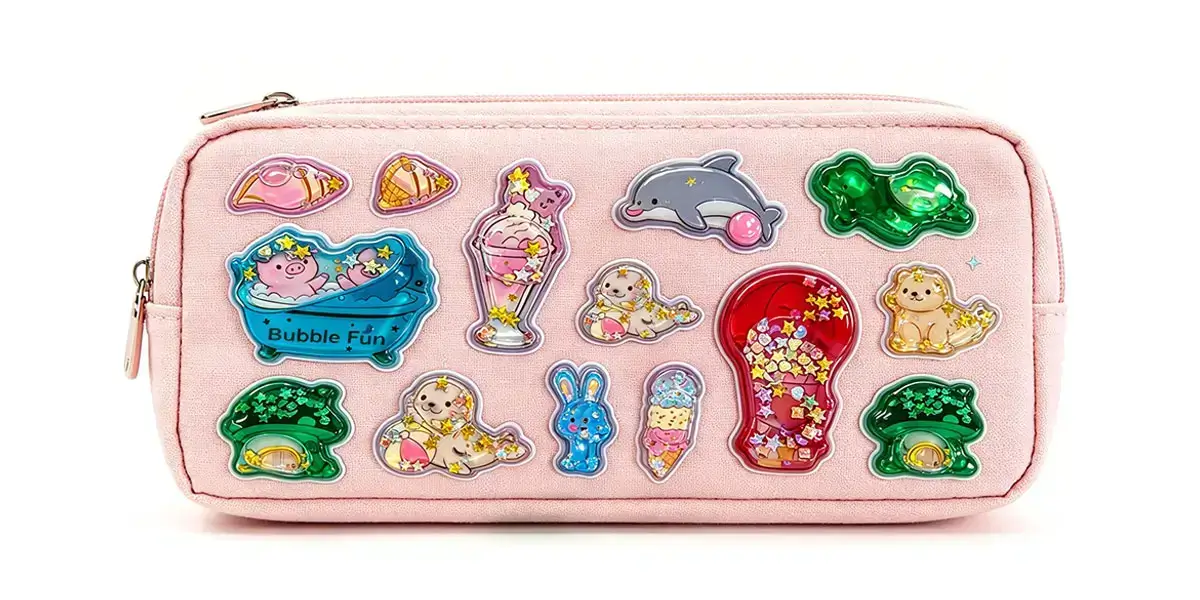
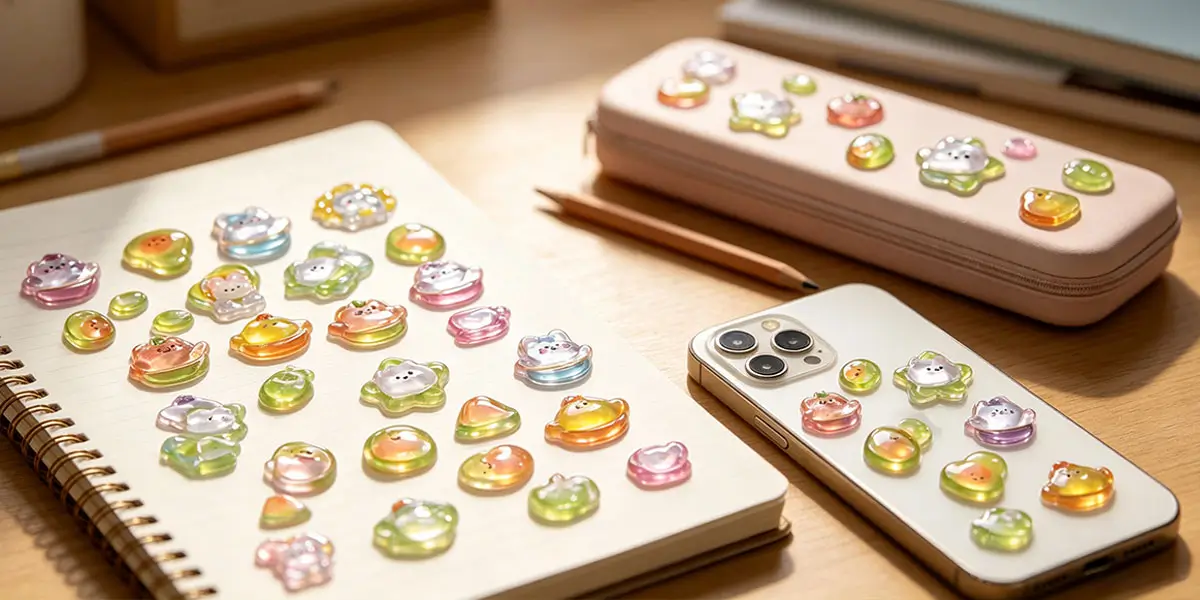
One of the biggest advantages of tooling is repeatability. Your 2D artwork only shows a flat graphic. The mold turns that flat design into a physical 3D cavity. CNC engraving carves exact contours, fine details and raised depth into the mold surface. This is critical for intricate cartoon characters, brand logos, embossed patterns and textured surfaces such as 3D flocked stickers.
When we compress or cure materials inside the mold cavity, the material copies every detail of the mold. This ensures every sticker has identical raised height, rounded edges and fine textures. Hand forming or simple UV printing cannot reliably replicate complex three-dimensional shapes at scale.
Once the production tool has been developed and validated, it can be used to reproduce the same geometry repeatedly. In molding industries, tooling is specifically used to achieve repeatable parts across production runs.
Wholesalers, brand owners and OEM buyers need uniform quality across thousands of custom 3D sticker sheets. A finished mold creates repeatable results for every production run. The same mold produces identical sticker dimensions, relief height and surface finish from the first sample to the final bulk shipment.
Without a controlled forming tool, maintaining consistent 3D geometry across a large production run would be much more difficult. Without a dedicated mold, manual forming leads to large variations: some stickers bulge too high, some have shallow relief, and edges appear irregular. This inconsistency creates rejected stock, customer complaints and wasted material costs for brands selling retail sticker packs, journal supplies or promotional merchandise.
Not every 3D sticker design has the same level of manufacturing difficulty. A simple rounded character may have a relatively straightforward 3D structure. A more complicated design may include:
The more complicated the geometry, the more carefully the manufacturer needs to consider how the material will be formed and released from the tooling. In general molding practice, design geometry, wall thickness, draft, radii and other features can influence manufacturability and tooling requirements. For this reason, a custom 3D sticker mold should be developed around the actual production process rather than simply copied from a 2D image.
Molds define not only shape but also surface feel. A textured mold creates matte, grain or embossed surfaces for flocked and foam puffy stickers.
Well-made hardened molds also withstand repeated high-volume production cycles. Quality molds resist deformation after thousands of molding cycles, so sticker quality does not degrade mid-run. Cheap, low-grade molds wear quickly and start to produce blurry, distorted stickers as production continues.
A good mold is not only about creating the correct outline. It also needs to support the desired surface and dimensional characteristics of the finished product. Poorly considered tooling can contribute to problems such as:
General molding practice shows that tool design and process control are closely related to finished-part consistency. For custom 3D sticker manufacturing, this is particularly important because the 3D surface is part of the product's visual identity.
Many buyers worry about one-time mold tooling fees. It helps to understand the business tradeoff: mold cost is a one-time investment. Once your custom mold finishes sampling and approval, unit production cost drops significantly for bulk orders.
MaStickers provides transparent mold quotes, pre-production samples and mold revision services so you can approve the 3D effect before mass manufacturing starts.
A 3D sticker mold is a precision-machined tool that physically shapes the top layer of the sticker into a raised, dimensional form. It is not a printing plate, it is a forming tool.
For a flat sticker, printing and cutting can be enough to produce the basic product. In the manufacturing process for thermoformed 3D stickers, the tooling or molds needed for the desired 3D structure are designed first, then used in the thermoform step to create the elevated region that gives the sticker its signature raised profile. The mold defines the shape, depth, edges, and surface texture of the 3D effect.
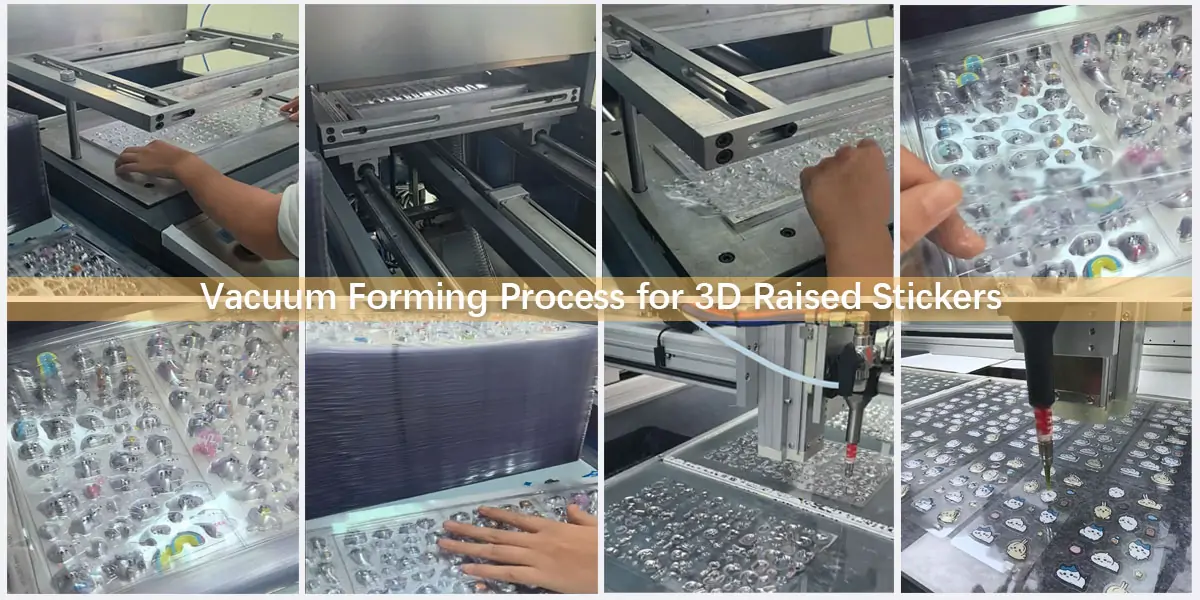
A 3D sticker requires an additional step: the material must be formed, embossed, molded or otherwise given a raised profile. In thermoforming, for example, a plastic sheet is heated until it becomes formable and is then shaped against a mold using pressure, vacuum, or both. The mold determines the resulting three-dimensional geometry. Without a mold, there is no way to thermoform a flat sheet of PVC or TPU into a consistent, repeatable raised shape.
In simple terms: Artwork → Mold/Forming → 3D Structure → Resin/Surface Treatment → Adhesive → Die Cutting.
The exact sequence varies by product construction, but the mold or forming tool plays a key role in creating the intended three-dimensional geometry.
Printing can reproduce color, graphics and visual details, but printing alone does not create the same physical geometry as a molded or formed structure. A 3D sticker needs actual height and volume. For example, a character sticker may have:
These physical features need to be translated from the 2D artwork into a production-ready three-dimensional structure.
Not all 3D stickers use the same type of mold. The forming mold creates the 3D structure. The cutting die creates the final sticker outline. This distinction is especially important when discussing custom 3D sticker tooling with an OEM manufacturer. The mold design depends on the sticker construction method:
For custom 3D puffy stickers, a precision-machined mold is required to create the raised relief. The PVC or TPU top sheet is heated until pliable, then vacuum-formed against the mold. The vacuum negative pressure causes the film to tightly conform to the mold’s three-dimensional shape. After cooling and hardening, the material retains the molded contour, forming the dimensional outline that makes puffy stickers so distinctive.
This mold-making step is the foundation of the entire production process. Without it, there is no way to achieve consistent, repeatable 3D embossed puffy stickers.
For certain designs, embossing (also called relief stamping or debossing) can be used as an alternative to vacuum thermoforming. In this process, a two-part embossing tool (consisting of a female die and a male die) presses the material into the desired 3D shape. Embossing tools are commonly manufactured from metal blanks processed using CNC milling or even manual engraving.
The cutting die determines the final outline of the sticker. It follows the approved cut line or contour and separates the finished sticker according to the required shape. For example, a sticker may be: Circle-shaped, Character-shaped, Logo-shaped, Irregularly shaped, Multi-contour and Custom cartoon-shaped. For complex outlines, an etched steel die or laser-cut die is used.
Epoxy resin dome stickers are a special type of product. The dome itself is formed by the natural surface tension of liquid polyurethane resin, rather than through mold forming. However, before the resin is applied, the sticker backing must still be cut into a precise shape using a precision die-cutting mold.
In conventional die-cutting production, a dedicated die can be manufactured for custom shapes. Kiss cutting cuts through the sticker material while leaving the backing liner intact, whereas full die cutting cuts through the sticker and backing.
Not always. In custom sticker manufacturing, terms such as mold, die, tooling, forming tool and embossing die may refer to different production tools depending on the process.
A die may be primarily used for cutting the sticker outline, while a mold or forming tool may be used to create the three-dimensional structure.
For example:
3D forming tool → creates the raised structure
Die-cutting tool → cuts the final sticker shape
These tools can serve different functions in the same production process. For B2B buyers, confirming the terminology and function with the supplier can prevent misunderstandings when reviewing a quotation.
No, not necessarily. This is an important distinction for buyers. Different products can achieve a raised or dimensional effect through different manufacturing methods. For example:
These may require forming or molding tools to create the raised structure.
The process of manufacturing custom 3D stickers (Bonbon Drop Stickers) involves placing PVC or TPU sheets onto a precision mold, heating them until they become malleable, and then subjecting them to vacuum thermoforming. The negative pressure created by the vacuum causes the softened material to conform tightly to the mold’s three-dimensional shape. Without a mold, the sheets would be unable to achieve a raised effect.
This is why 3D puffy sticker manufacturing always involves a mold-making step. The mold is the foundation of the entire production process.
In addition to requiring a mold to create the 3D effect, this 3D Puffy Sticker also requires a custom cutting die (Die-cutting tool) for cutting, whether the desired finish is die-cut or kiss-cut. This is also the main reason why custom 3D raised stickers are more expensive, aside from the variety of materials used.
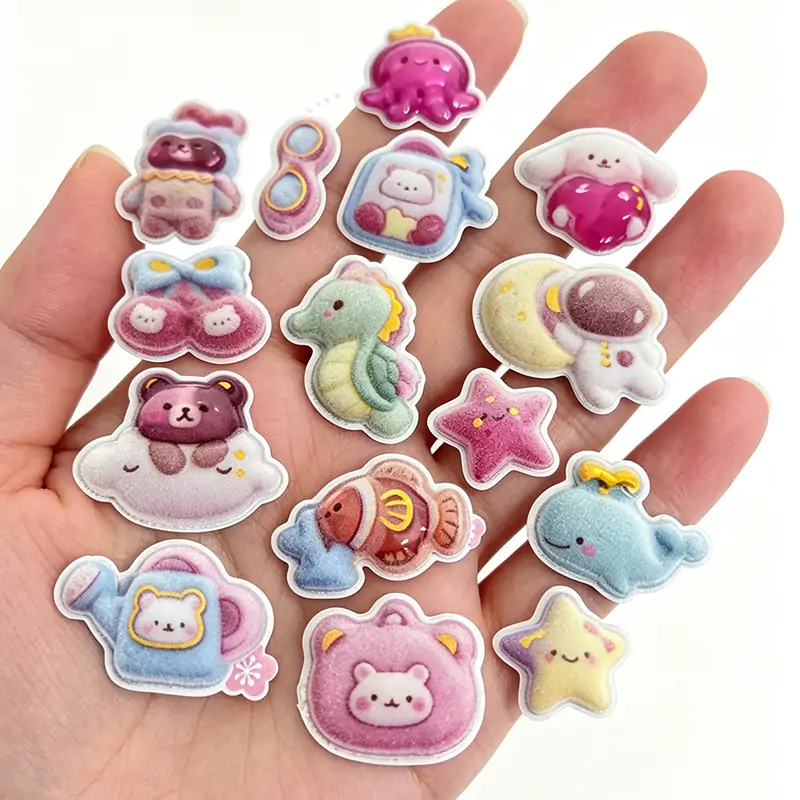
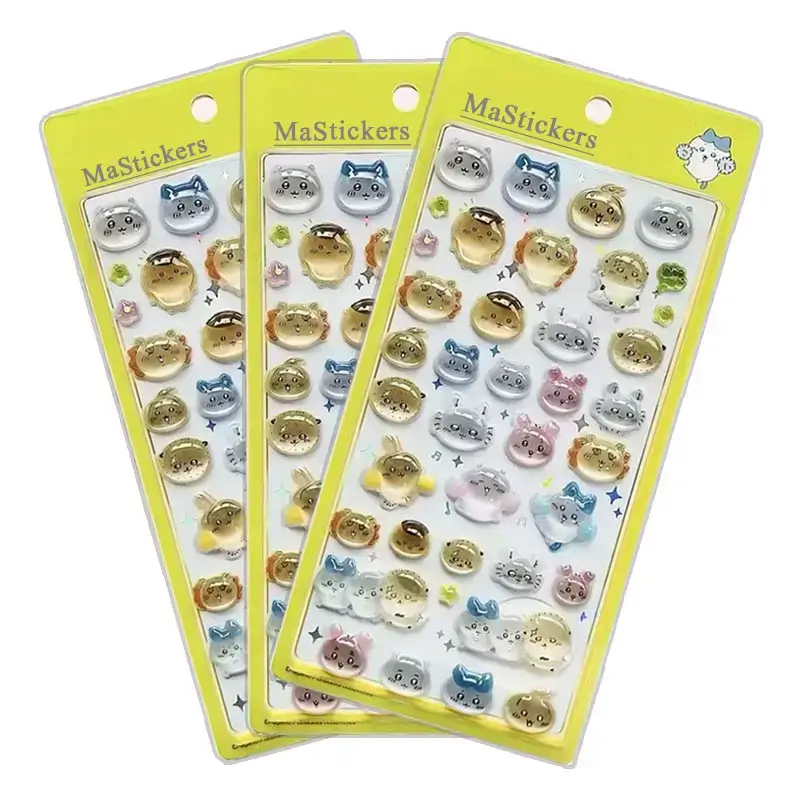
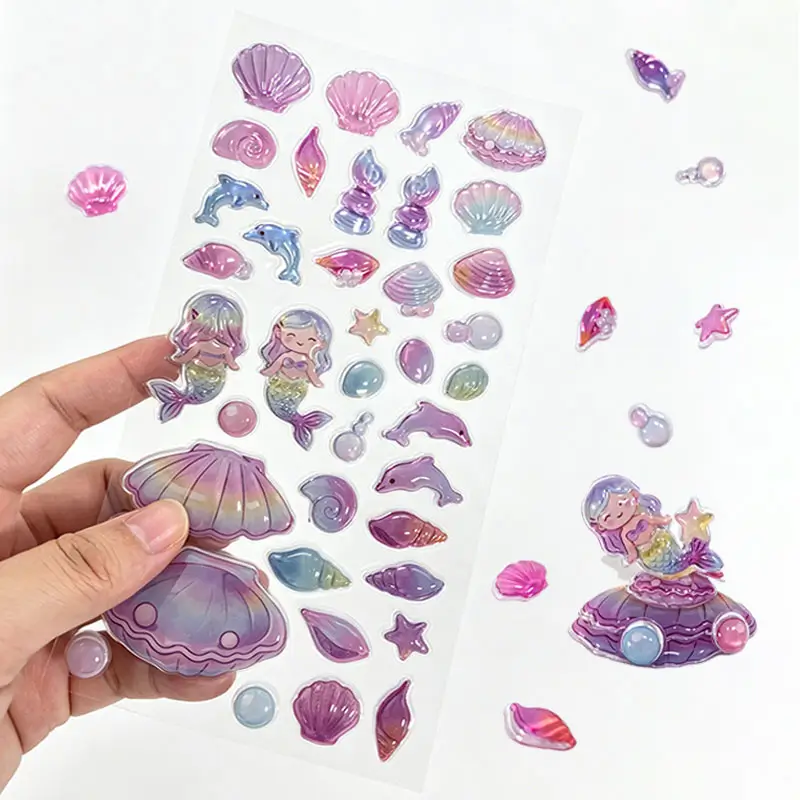
Foam stickers can achieve a raised effect without the need for a mold, but a custom cutting die is required for the cutting process. Foam-based sticker products require high-temperature hot-cutting using custom die-cutting tool to melt through the foam edges of the stickers, resulting in sealed, clean cuts.
Epoxy dome stickers (also called domed stickers, resin domed labels, or 3D gel stickers) are a special case. The dome itself is formed by the natural surface tension of liquid polyurethane resin, not by a mold.
However, a precision die-cutting mold is still required to cut the sticker base into the exact shape before resin is applied. As 3D sticker production processes confirm, the manufacturing flow includes die-cutting after the resin has been applied.
For complex outlines, an etched steel die or laser-cut die is used. The cost of an etched mold depends on the complexity of its shape and the length of the cutting line.
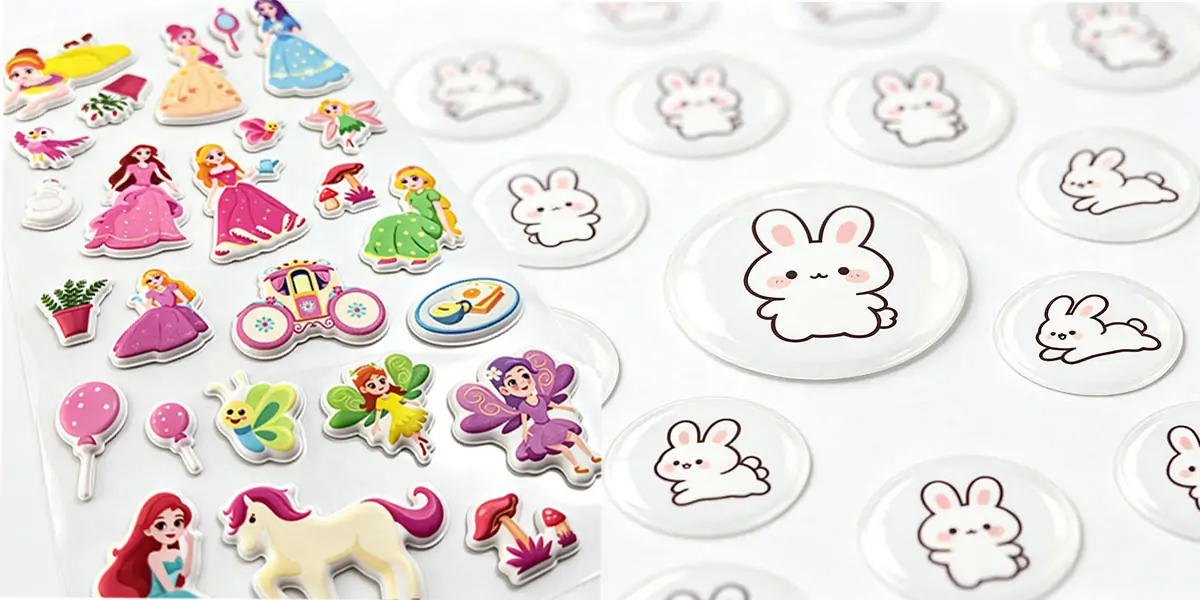
A typical OEM workflow can be summarized as:
Step 1: Artwork Review. The manufacturer reviews the artwork, dimensions, materials, 3D requirements, and intended sticker format.
Step 2: 3D Structure Development. The design is translated into a suitable forming structure and tooling approach.
Step 3: Forming Tool Development. A dedicated forming mold or other forming tool is prepared according to the approved 3D geometry.
Step 4: 3D Forming. The selected sheet or material is formed into the required raised structure.
Step 5: Printing and Finishing. Depending on the product construction, printing, resin filling, sealing, lamination, adhesive application, or other finishing processes are completed.
Step 6: Contour Cutting. The finished structure is cut according to the approved sticker outline.
Step 7: Quality Inspection. The manufacturer checks the finished stickers for dimensional accuracy, appearance, adhesion, cutting quality, and other agreed specifications.
MaStickers describes its OEM/ODM process as covering consultation and design, prototyping and sampling, mass production, mold making, printing, die-cutting, packaging, and quality control.
The cost difference between a 2D die and a 3D mold is substantial. 2D molds rely on flat lines, height differences, and clear outlines. Their structure is relatively straightforward, and engraving tools can perform simple straight-line cutting, saving on electricity, labor, and other hidden costs.
3D molds, by contrast, must present rich curved surfaces, multiple levels of depth, gradual transitions, and three-dimensional relief. Complex designs require the CNC machine to slow down and may even need extremely fine miniature cutting tools for multi-angle cutting. Large amounts of manual repair work by skilled craftsmen may also be required. The time, process difficulty, and complexity involved are the reasons why 3D mold fees are more expensive than 2D mold fees.
Additionally, 3D molds require high-precision machines for engraving, with an error margin that cannot exceed 0.2mm. The cost of these machines is another factor driving mold fees higher. Including both purchase and operating costs.
The best time to control tooling cost is before the mold is made. Before approving production, provide:
It is also useful to ask the manufacturer whether several designs can share a production setup or whether each design requires separate tooling. Most importantly, approve the 3D prototype before moving into mass production. A small design change after tooling has already been completed can be much more costly than correcting the design during the pre-production stage.
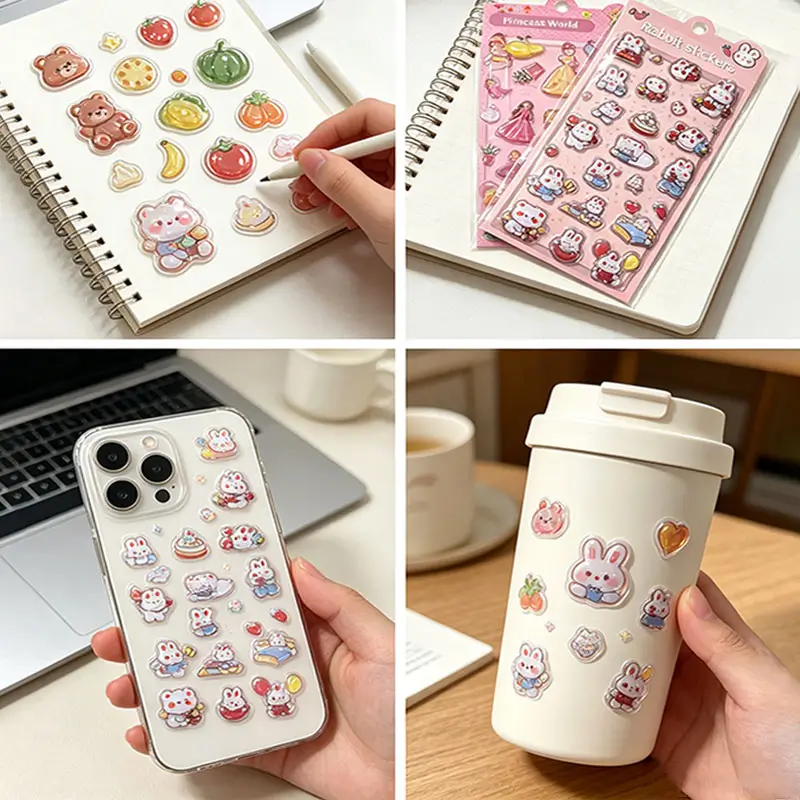
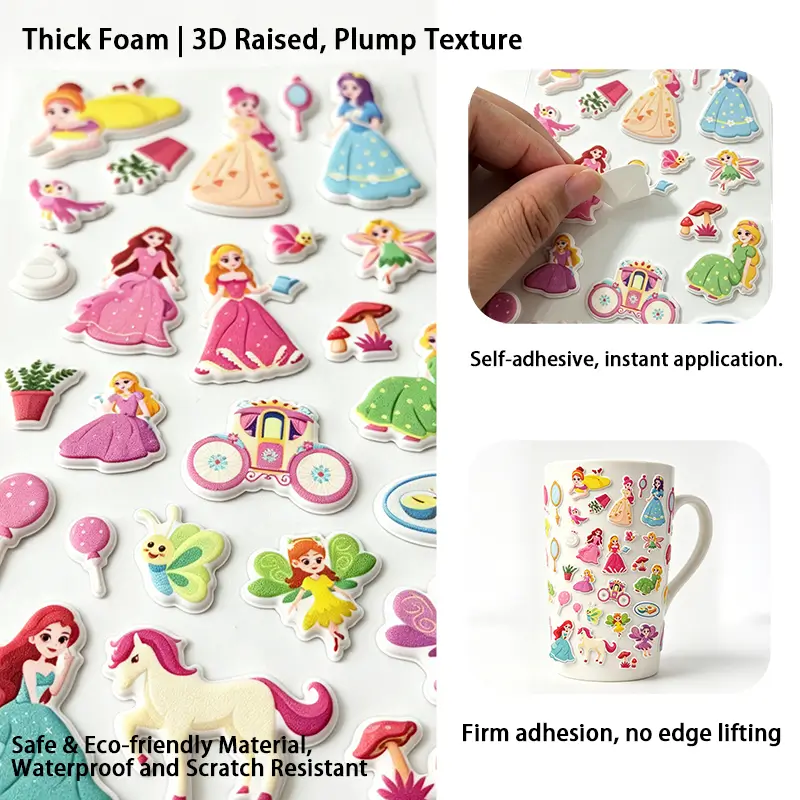
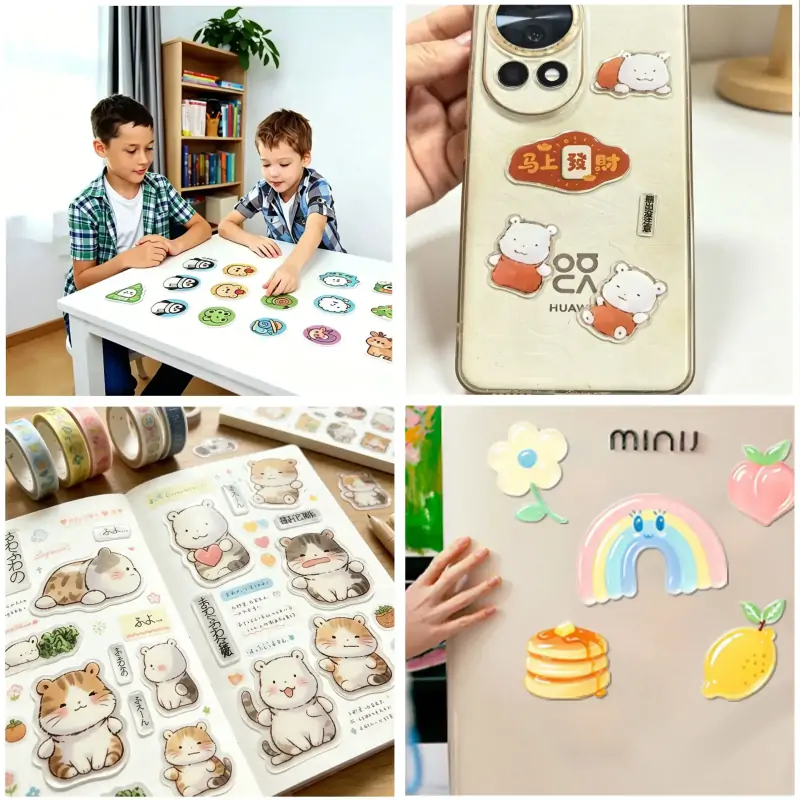
Custom 3D stickers are not simply flat stickers with a thicker surface. The three-dimensional structure must be physically formed according to the design, and the finished product must also follow a precise cutting contour.
For many OEM 3D sticker projects, this means understanding two separate tooling functions:
The 3D forming mold creates the raised structure.
The cutting die or cutting system creates the final sticker contour.
Understanding this distinction helps buyers evaluate custom 3D sticker tooling, manufacturing costs, production methods, and supplier capabilities more accurately.
If you are developing custom 3D stickers for stationery, promotional products, character merchandise, retail packaging, or other applications, working with an experienced 3D sticker manufacturer from the design and tooling stage can make the transition from artwork to mass production much smoother.
Looking for a custom 3D sticker manufacturer for your next OEM project? Contact MaStickers to discuss your artwork, 3D structure, materials, tooling, and bulk production requirements.
Q: How long does it take to make a custom mold for 3D stickers?
Q: Can I reuse my 3D sticker mold for repeat orders?
Q: What file format do I need to supply for mold engraving?
 You May Also Like
No 410, Laoyi Village, Niuhu Community, Guanlan Street, Longhua District, Shenzhen City

MaStickers
Custom Stickers Manufacturer

No 410, Laoyi Village, Niuhu Community, Guanlan Street, Longhua District, Shenzhen City
Product
Get in touch and find out how we canmake your next shipment easier.


Copyright © 2026 Shenzhen Xinyin Environment Rubber Product Co., Ltd



 Home
Home